
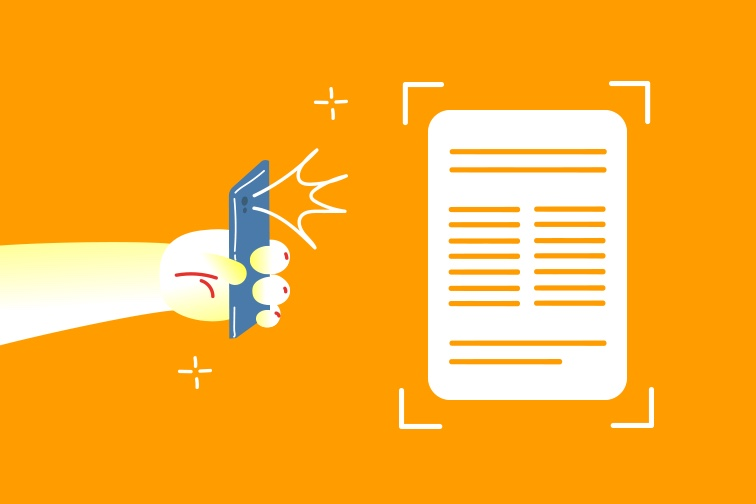
How to scan on iPhone?
The iPhone, a marvel of modern technology, is a pocket scanner. It puts the power of digital document processing in the palm of your hand.
Seamlessly integrated with cutting-edge technology, scanning on iPhone has never been more intuitive.
As we embark on a journey to explore the art of scanning, you’ll discover the potential your device holds.
Scanning on an iPhone is a new way to record and share information, whether you want to keep memories safe or improve your workflow.
Why Scan on iPhone?
Go paperless with iPhone!
If you scan important papers as PDF files first, organizing and storing them will be easier and faster. Before, you needed big scanners to turn your papers into digital files. Now, you only need an iPhone and an app like Adobe Scan that lets you scan on the go.
Read on to learn how to scan documents on your iPhone to PDF in seven easy steps.
How to Scan on iPhone?
Easily access everything in the video above from your iPhone or Apple device. Here’s how to use your iPhone to scan papers and upload them to your FileCenter account.
They are similar to the steps in Scanning Documents on Android Phones.
Turn your iPhone into a scanner
First, you’ll need to use your iPhone to convert your documents into high-quality PDF files. Adobe Scan and other mobile scanner apps make it easy to turn paper documents into searchable PDFs while you’re on the go.
Scanning a document with a mobile scanning application is very simple. Just follow these steps:
● Install Adobe Scan (or a similar application) from the Apple App Store
● Launch the application and register (or sign in)
● Use the slider below the camera icon to select the type of document you want to scan
● Aim your phone’s camera at the document. The app will automatically recognize both sides of the document
● Click Continue Scanning to capture additional pages
● Click “Adjustments” to change the brightness, crop and rearrange pages, add notes, clean up papers, etc.
● Name the scanned document and save it as a new PDF file.
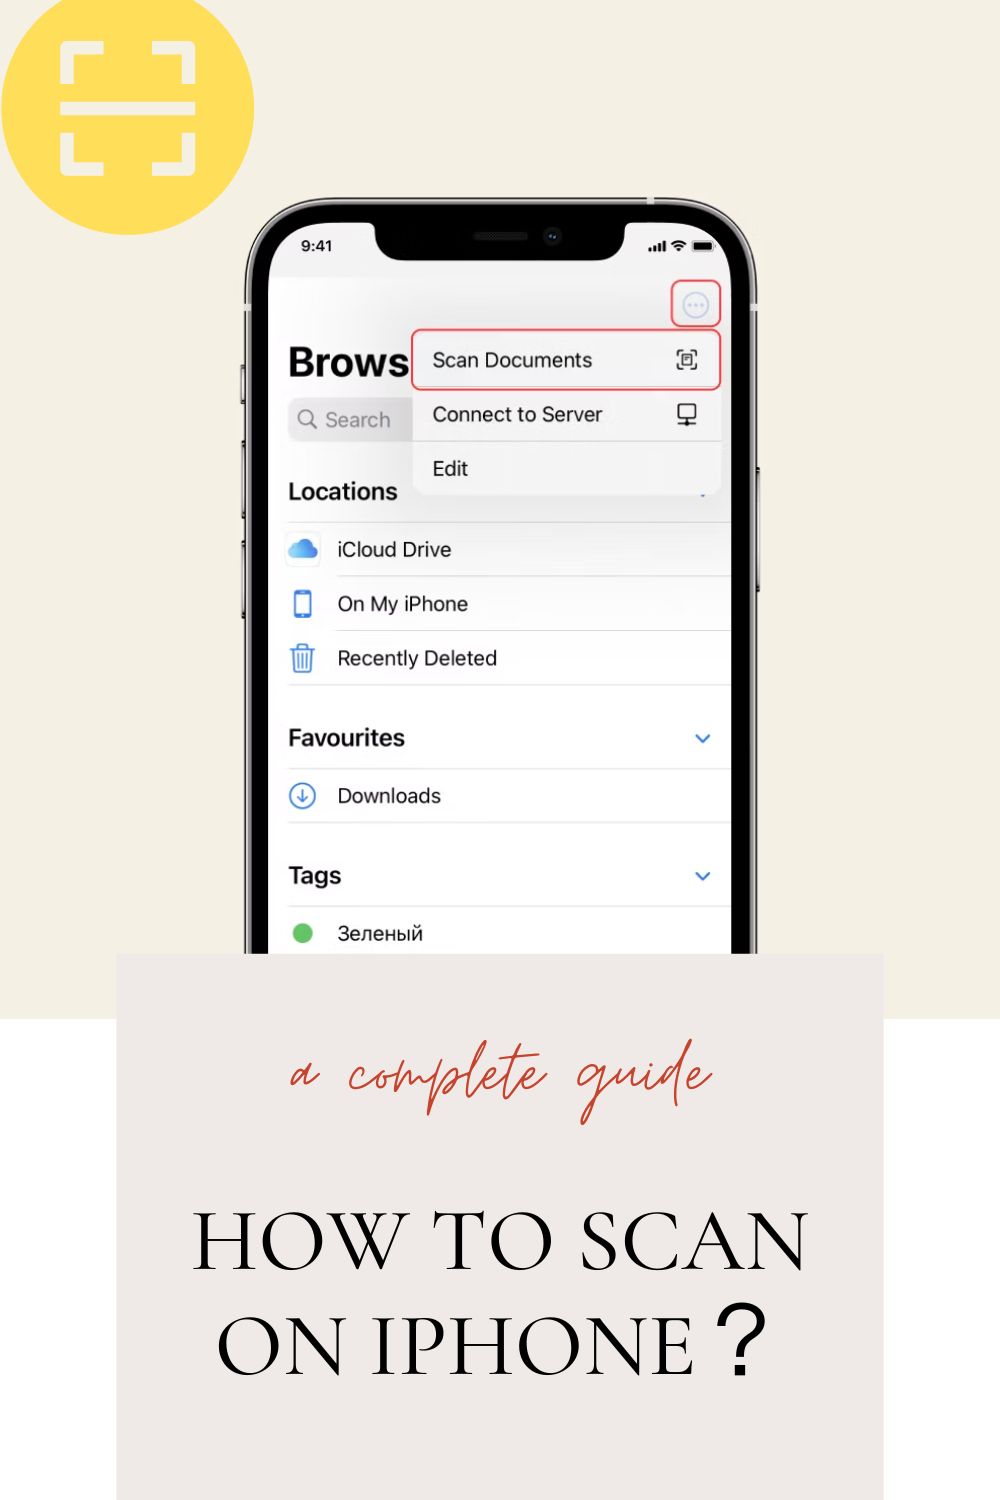
Scanning documents to your iPhone
You can scan documents on your phone without a scanning app if it has a scanning option.
Apple Support recommends the following steps:
● Launch Notes, make a new one, or pick one from your library.
● Select Document Scanner after clicking the Camera button.
● Place the document in Camera view to confirm a clear capture
● The document will be scanned automatically if the device is set to Auto mode. Use the camera’s shutter button (or a volume button) to take manual scans.
● Drag the corner points to adjust the scanning
● Click Keep Scanning
● Click Save
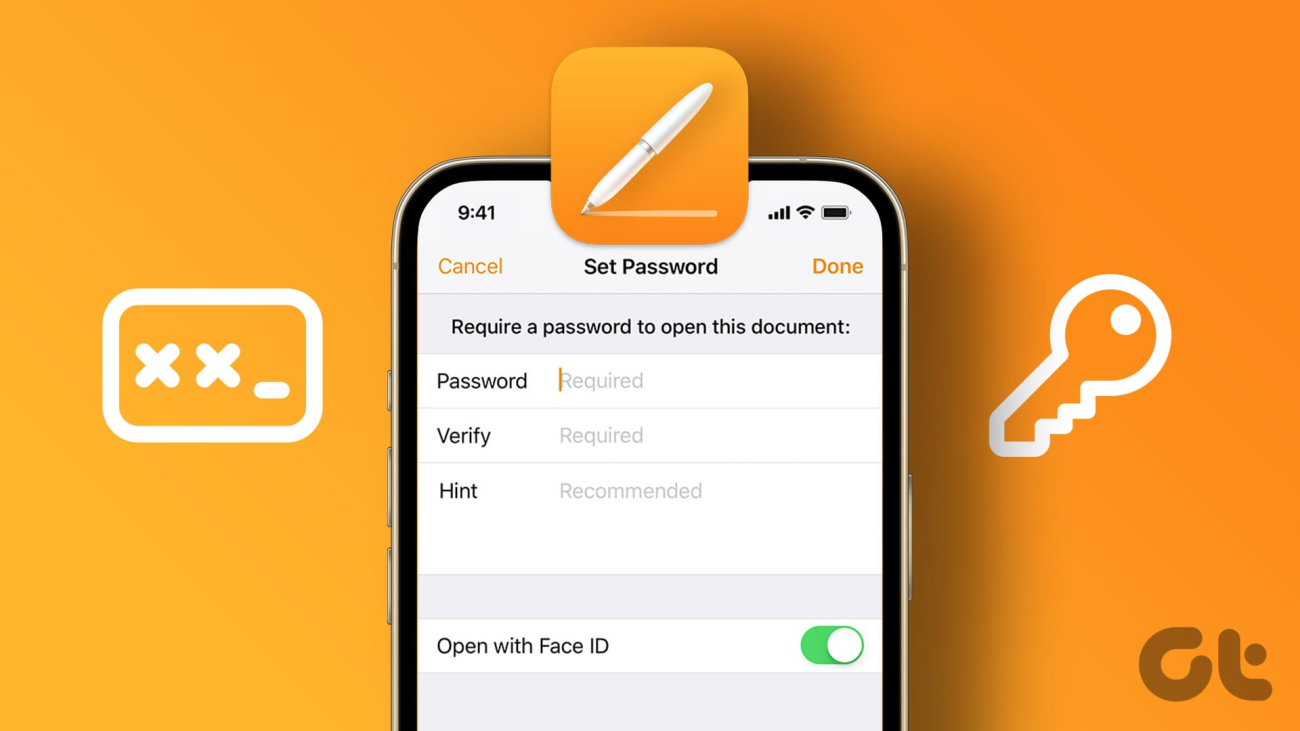
How to Signing Documents?
- Open Notes, and then click a document in Notes.
- Mark your progress by clicking the Share button.
- Tap the “Add” button, then tap “Signature.” You can then choose a current signature or make a new one.
The signature box can be moved and resized to fit the document. - Click Finish.
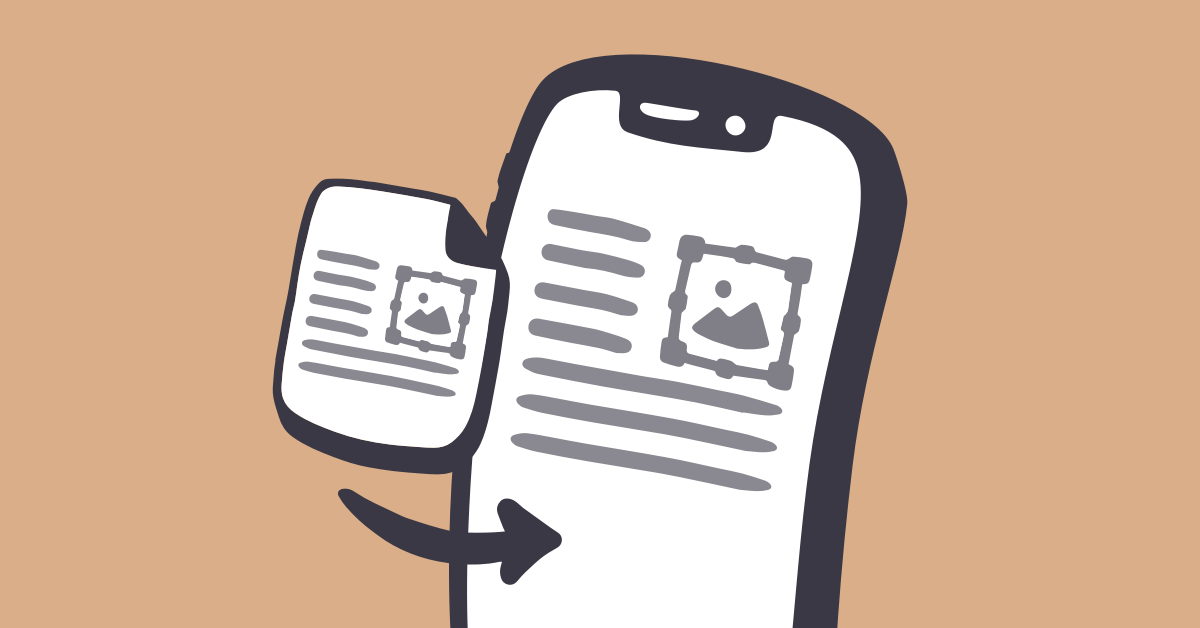
Transferring Scans to Your PC
Transferring scanned images to your PC is just like transferring any other photo. Once connected to your PC, you can cut or copy the scans and paste them anywhere in the File Center cabinet.
how to share scanned documents on iPhone
Want to send a scanned document to a friend, family member, or coworker? You can do this easily through the Notes application.
- Click on your scanned document
- To share, use the arrow in the upper right corner.
- Click on the application you want to share your notes with.
- Share your PDF
How to Delete a Scanned Document on Your iPhone?
If, after saving a scanned document, you realize you scanned the same thing twice by accident or changed your mind. You can delete a single scan without impacting the rest of the document.
- tap on your scanned document
- click Trash in the lower right corner
- click Delete Scan
Learn how to delete a scanned document by selecting it. You can click the trash icon and select Delete Scan.
You will only delete the specific pages you have selected to scan. If you want to delete the entire document, remove the comments.
Use File Center to Scan on iPhone
You can use your iPhone or another mobile Mac device to edit, convert, organize, store, share, scan, search, annotate. And you get to documents while you’re on the go. With your iPhone and the FileCenter Portal app, you can scan and send important papers to it.
Use Adobe Scan to Scan on iPhone
If you want to know how to scan papers on your iPhone, you might need to learn that the Notes app for iPhone has a built-in reader.
Even though you don’t have to download free software like Adobe Scan to use this printer, it doesn’t turn scanned papers into PDF files.
Adobe Scan is very fast and stores your PDFs in the free cloud and on your device. It has good optical character recognition to read even letters and symbols drawn by hand.
Adobe Scan automatically crops and brightens your scans so you get a neat PDF.
However, both apps allow you to sign scanned documents, so the native scanner app on the iPhone may be a good choice.
Learn how to scan using the native Notes app for iPhone:
1. Open Notes in the app.
2. Tap Camera > Scan Document.
3. Capture an image of the document as if you were taking a photo.
4. Tap Continue Scanning > Save.
To optimize your scan, make sure your document is flat and well-lit. You can edit the scan later to ensure it is cropped properly and has a normal white balance.
Conclusion
Scan on iPhone is easy, right?
In a world where convenience is most important, the iPhone makes scanning papers right from your hand easy.
Once you’ve mastered scanning, capturing, storing, and sharing information is easy.
The iPhone’s scanning features give you complete command over your digital universe. It allows you to keep personal memories safe and streamline your professional endeavors.
Remember that with a few touches, your iPhone can be a powerful scanner for your next digitization project.
A device that can digitize the analog can connect the real world with the digital one. It takes you to a time and place where your imagination limits your output.