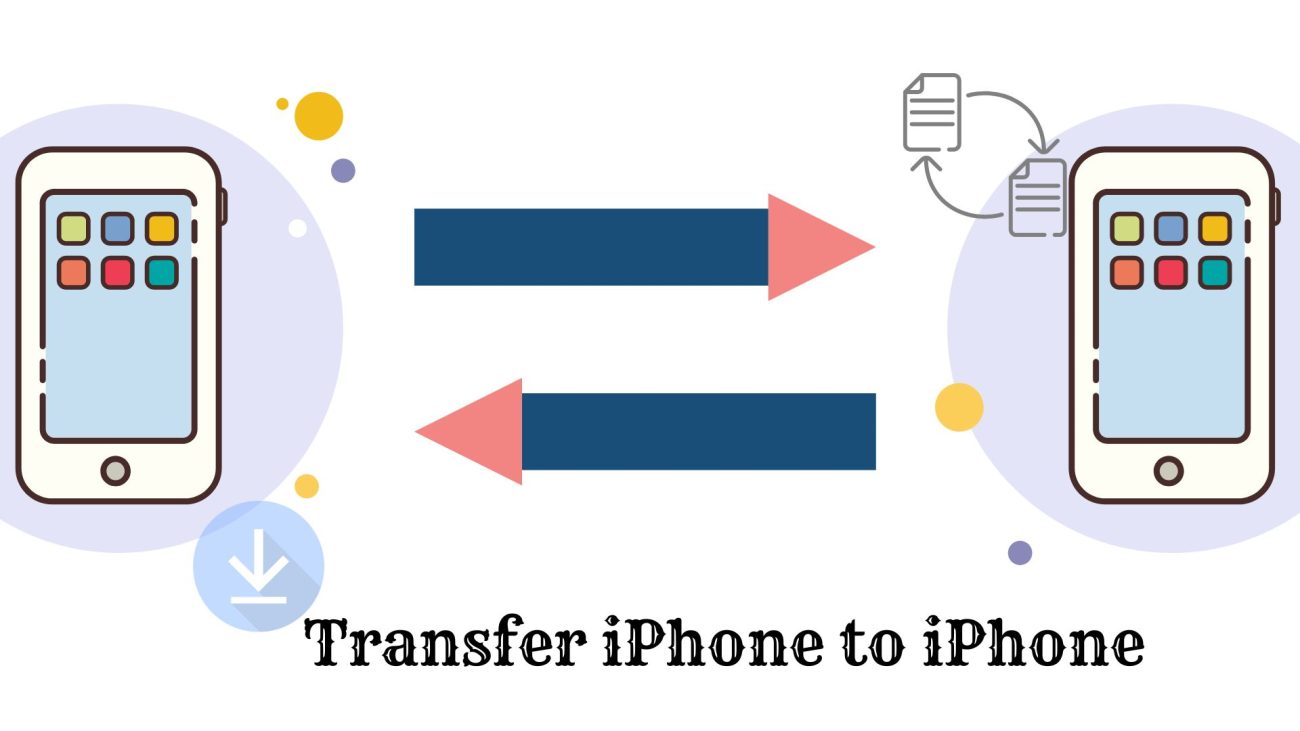
Are you like me? The happiest time is when you get a new cell phone. However, this is often accompanied by worry, at least for me. How to transfer iPhone to iPhone?
Transferring data means that you need to back up your precious information. And you transfer it to another phone without missing anything.
This thing sounds hard, right?
But don’t worry. I’ve found the answer to this question!
This guide will introduce you to 4 common and effective methods. One is guaranteed to be suitable for your situation at this time.
Let’s start with the first method!
| NOTE Before you start, please verify 1. Back up your old device. 2. Prepare your Apple ID and password. 3. Move your SIM card from your iPhone, iPad, or eSIM to your new device. 4. Erase the data from your old device。 |
How to Transfer iPhone to iPhone: with Quik Start

For this method, you will need both the old and new iPhones. Make sure that both devices have enough power.
- First, hold the two iPhones close to each other and check if Bluetooth is turned on on the old iPhone.
- Turn on the new iPhone and press Continue when prompted on the old iPhone’s screen.
- After pressing “Continue,” an animation should appear on the screen of the new iPhone. Use the old iPhone’s camera to scan the animation. It will connect the two devices.
- Next, the new iPhone will ask you for your passcode. Put in your Apple ID and password. At this point, you can also set up Face ID to make identification on your phone easier.
- Once you’ve entered your Apple ID and passcode, select “Transfer from iPhone” and wait for the transfer to complete. At this point, you can also choose to transfer your data from iCloud or use one of the other options. Remember to keep both iPhones close to each other at all times during the transfer.
- Over!
How to Transfer iPhone to iPhone: with Windows PC
You can copy information from one iPhone to another using a Windows computer. Just make sure your computer has an available Type-C port or a regular USB port. You depend on the type of Lightning cable you’re using.

- Download and install iTunes from the Microsoft Store.
- Connect your iPhone to your PC.
- Launch iTunes and click Summary on the left. Under “Backup,” select “This Computer,” then click “Backup” Now.
- When you start your new iPhone, click Manual Setup on the Quick Start page. To retrieve your data from a Mac or PC, follow the on-screen prompts to the Apps and Data panel and select Recover.
- Please proceed by following the on-screen prompts.
How to Transfer iPhone to iPhone: with iCloud
The following method is also one of your best choices! It can transfer iPhone to iPhone easily to understand!
- Open “Settings” on your old iPhone.
- Tap on the Apple ID banner
- Tap iCloud
- Tap iCloud Backup
- Tap Backup Now
- Turn off your old iPhone when the Backup is complete
- If you are moving your old iPhone to a new iPhone, remove the SIM card from your old iPhone.
Wait for the Backup to complete before continuing. You can now put your old iPhone aside.
Note: Ensure your new iPhone is turned off when you begin the next steps. Prepare to restore from an iCloud backup on your new iPhone:
- If you want to move your old SIM card between devices, insert it into your new iPhone
- Turn on your new iPhone
- Tap the Home button or swipe up, depending on the type of device you’re configuring.
- Follow the instructions to select your language and set up your Wi-Fi network.
- Click Recover from iCloud Backups
- Sign in to your iCloud account (this is also your Apple ID)
- Click Next
- Click Agree
- Click Agree again
- Select the Backup you just made
How to Transfer iPhone to iPhone: with AnyTrans
The easiest way to transfer data is to use AnyTrans Backup Manager. Transferring data from one iPhone to another is fast and straightforward.
Here’s how to use AnyTrans to copy all of your data from one iPhone to another:
- Open AnyTrans on your Mac.
- Connect the two iPhones via USB
- please use the menu on the left for the Phone Switcher. The symbol comprises what appears to be two gadgets connected by an arrow.
- Click Migrate Now on the iPhone from which you want to transfer data.
- Click on the row with the name of the device to make sure the transfer source is correct
- Then select the category of files you want to transfer.
- And finally, it’s done!
Freeing Up Space on Your iPhone after Transferring
Before transferring files, make sure you need them all. You may have the same or nearly the same photos or videos on your phone. Or you may have accidentally copied documents or folders. You want to avoid unnecessary files cluttering up the space on your new iPhone, do you?
One way to detect all similar files is the Gemini app. It will look through your phone for duplicate files. It can be deleted without changing the information. The app will show you a handy preview window to look at similar files before deleting them.
To free up space on your iPhone, try these methods:
- Open Gemini on your iPhone
- Select the category from which you want to delete the photos. Gemini finds duplicates, screenshots, blurry photos, videos, etc.
- If you’re sure, tap the Delete button.
Gemini also has a Mac app that looks deeper into your Mac’s folders. It can find duplicate files, folders, pictures, and other things that may need to be removed. Gemini can look at your whole system or the Photos or Music folders on your Mac.
Conclusion
It is the end of this guide! Remember, transferring the iPhone to iPhone is not just a technical task. It’s a meaningful journey.
Like a big change in your life, it’s a time to think about the trip you’ve been on and get excited about what’s to come.
Every app, every photo, every contact is on its way to your new iPhone. They’re all here, ready to tell their stories on your new device.
So take a deep breath and enjoy this intricate digital transformation.
Thank you for joining us on this journey. May your new iPhone be a canvas for connection and a guardian of the moments that make life special.
Here’s to the chapters you’ve already experienced and the ones yet to be written.
If you have other questions about the iPhone, check out the other articles too!